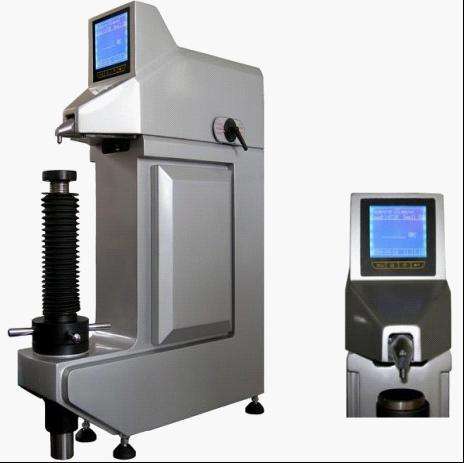
Ring hardness testing machine operation method
According to the degree of hardness and hardness of the material to be tested, the scale is selected according to Table 2, and the variable load handwheel is rotated clockwise to determine the total test force. As much as possible, plastic Rockwell hardness testers should be in the range of 50-115, and a few materials not in this range should not exceed 125. If a material is tested with both scales and the resulting value is at the limit, then Smaller ruler. The same material should use a uniform scale.
2.3 The ball indenter (5) is inserted into the spindle hole, tightly contact the bearing surface, and press the stalk notch plane against the screw, slightly tighten the indenter stop screw (4), and then place the test piece on the test bench (6 )on.
2.4 Turn the rotary wheel (8) clockwise. The lifting screw is raised. The test piece should be brought into contact with the indenter slowly and without impact until the small indicator of the hardness indicator moves from the black point to the red point. At the same time, the long pointer turns. The three circles are perpendicular to the "30" position. At this time, the initial test force of 98.07N has been applied. The long hand offset must not exceed 5 graduations. If it exceeds this range, it must not be reversed, and the position of the measuring point should be changed again.
2.5 Turn the hardness meter dial (3) so that the pointer is aligned with the "30" position.
2.6 Press the "Start" button on the touch panel, the motor starts running, and the main test force is automatically added. The total test force is held until the time is reached. The motor rotates and the main test force is automatically removed.
2.7 The total test force retention time for the Rockwell hardness test of the plastic is 15 seconds. The length of time is selected by the up and down keys of the touch panel.
2.8 Wait 15 seconds, the buzzer sounds, and immediately read the hardness value pointed by the long pointer.
2.9 Readings of plastic Rockwell hardness indications shall record the number of times that the long pointer passes the “0” point after the main test force is added and the number of times that the long pointer passes the “0” point after removing the main test force and subtract it. Method to read the hardness indication:
A. The difference is zero. The scale reading plus 100 is the hardness value.
B. The difference is 1, and the scale reading is not only the hardness value;
C. The difference is 2 and the scale reading minus 100 is the hardness value.
2.10 Reverse rotation The lifting screw rotates to lower the test stand, replace the test point, and repeat the above operation.
2.11 The test point on each test piece is not less than five points (the first point is not counted). Testing points for large quantities of parts can be reduced appropriately.


